Our Step-By-Step Guide to the Best Partial Denture Technique
Getting dentures is one of the most common cosmetic dental treatments to address patients’ aesthetic dental concerns. Because dentures are custom-made prosthetic devices that mimic a person’s teeth and gums, it's the perfect device to replace lost, removed, or damaged natural teeth.
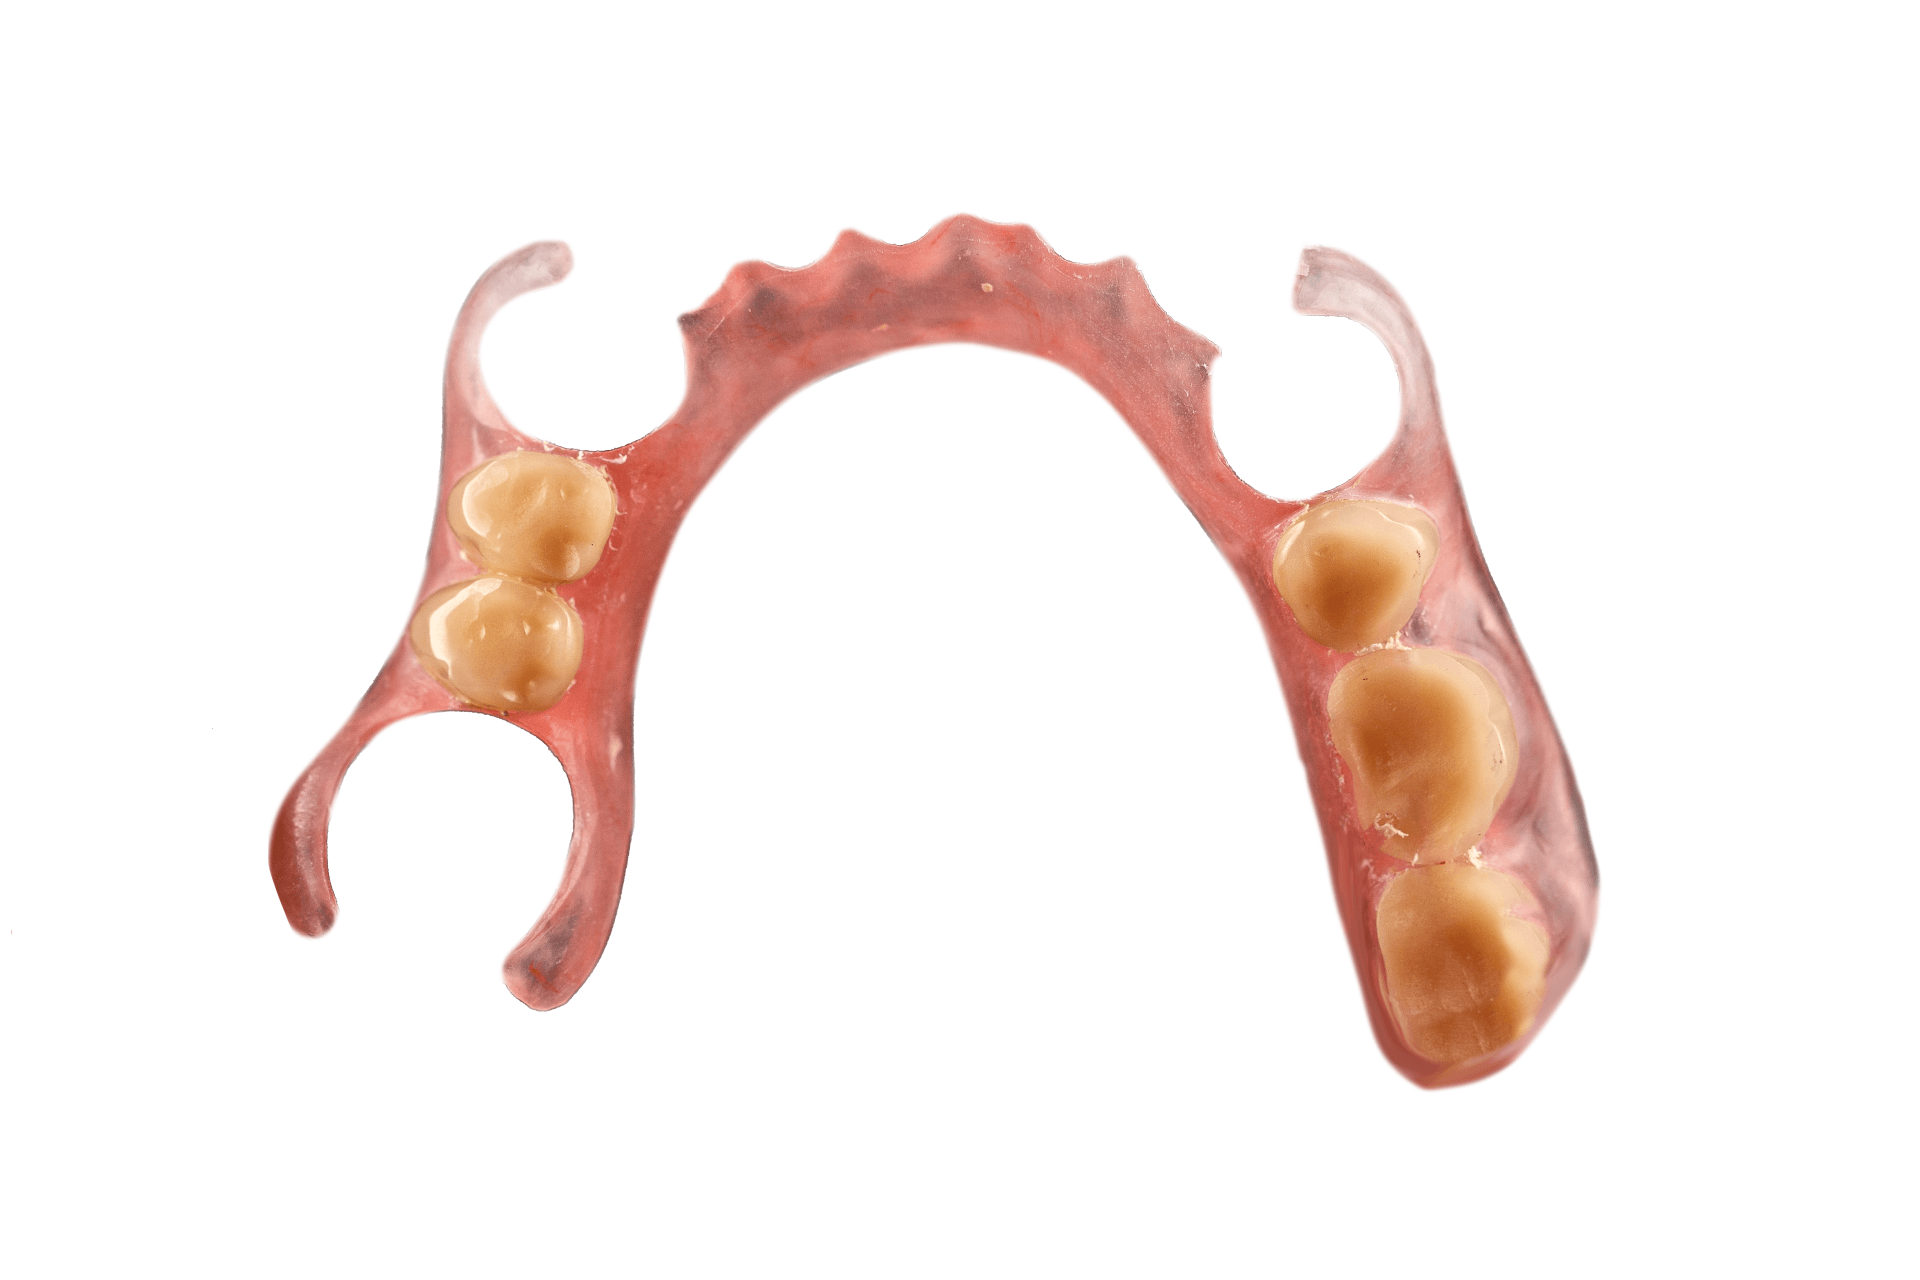
If your patient only needs treatment for one area or tooth, you can recommend partial dentures, skipping the need to use a full set of dentures that hide perfectly fine teeth.
Fabricating a partial denture isn't a piece of cake. If you want to get excellent aesthetic results, it's best to work with a certified dental lab because you'll use the best tools and products and go through meticulous planning to ensure quality results.
This article will share our step-by-step guide to the best partial denture technique that excellent dental clinics and labs in the industry follow. If you're ready, let's dive in!
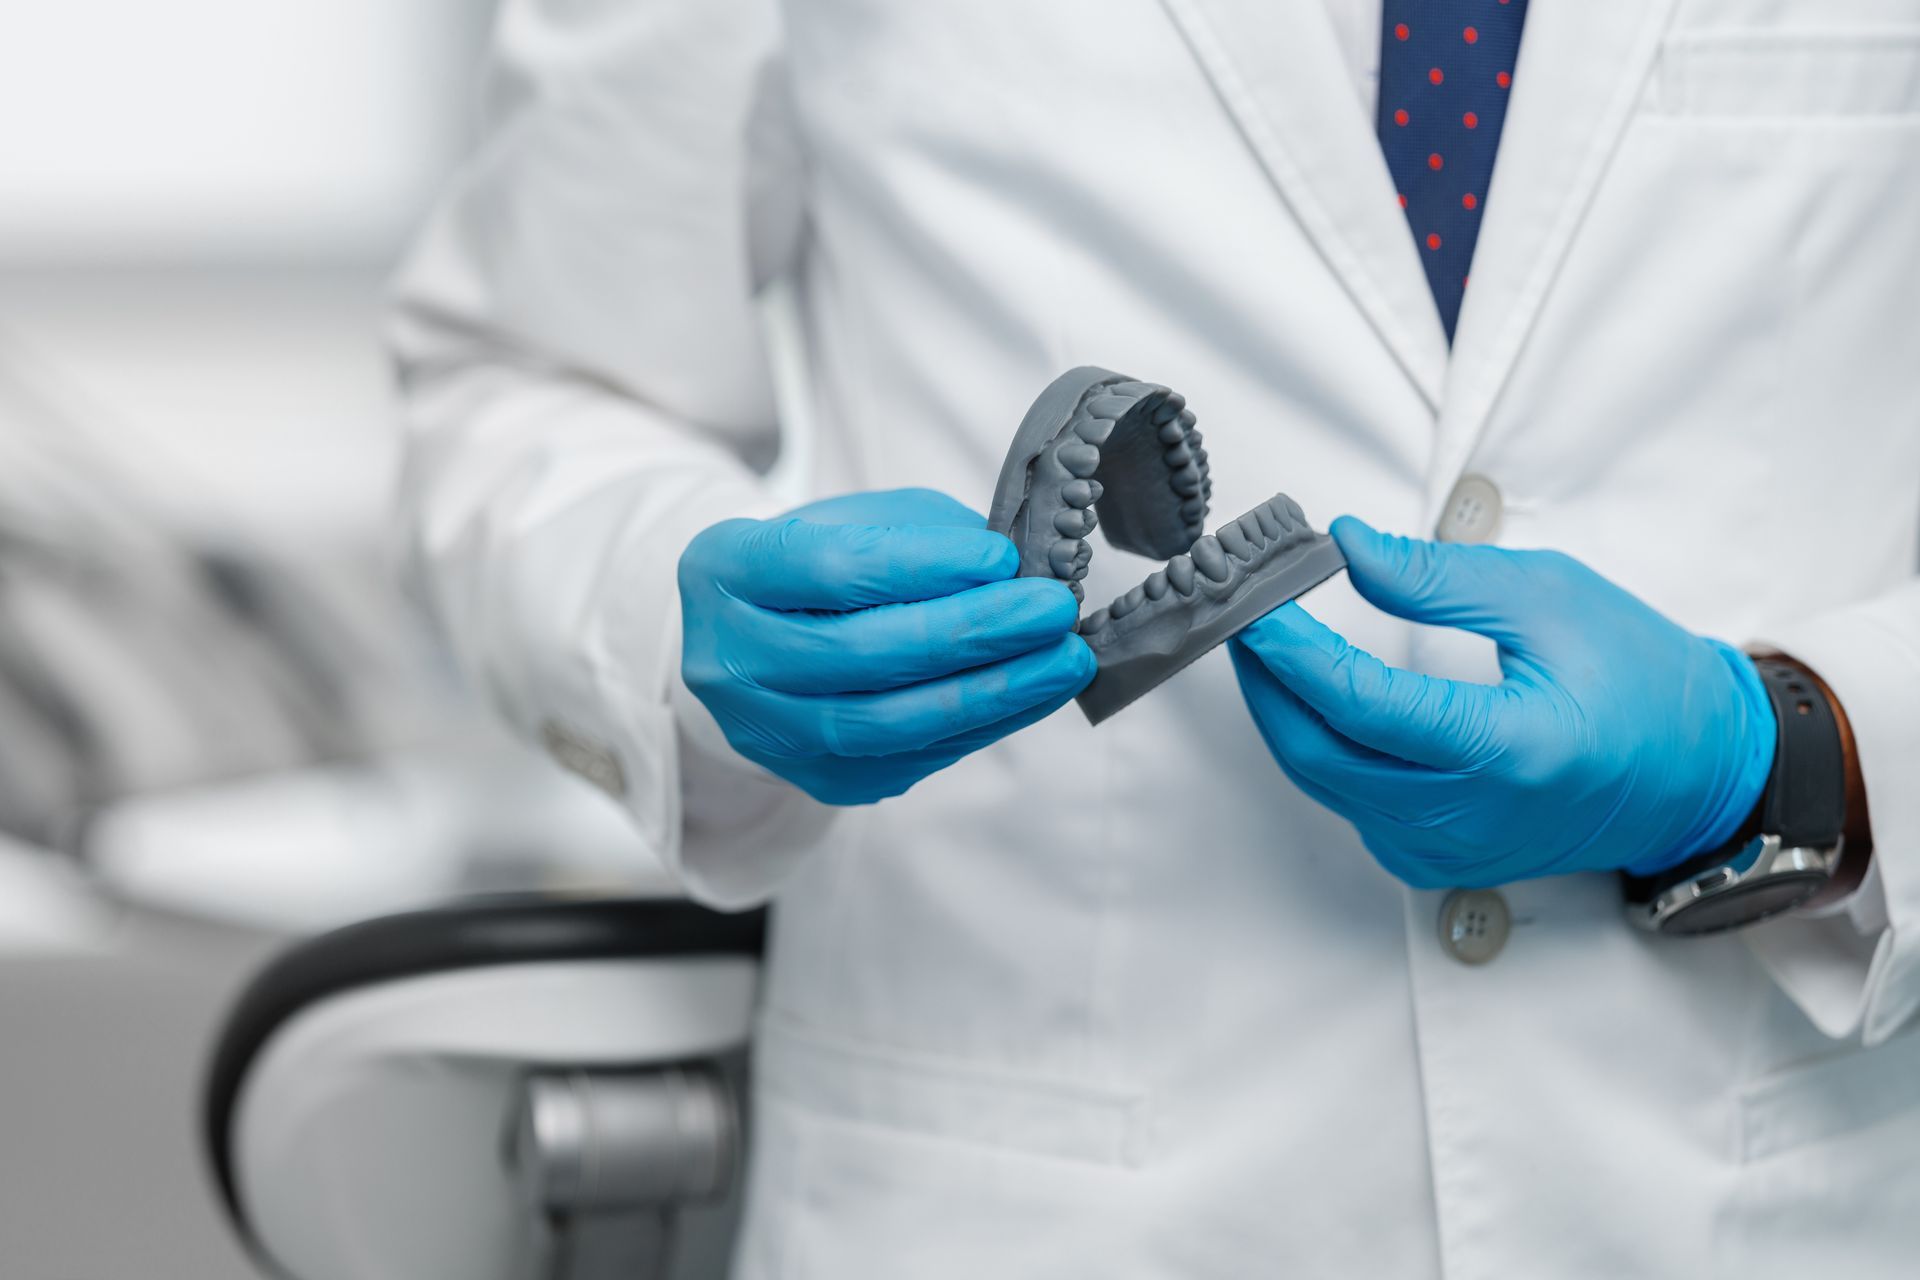
Step 1: Take accurate dental impressions
One of the most crucial steps is actually the first step in creating dentures, and it's to take an accurate impression and a correct bite.
To do this, you'll need to give your patient a full dental assessment to find any problems within the arch of their teeth. And then, to make the impression, you'll then pour high-quality gypsum stone to get an accurate representation of your patient's mouth.
If you want a well-designed removable partial denture, you should work with a certified dental lab technician. They will provide you with high-quality products that will help you assess the entire arch of your patient’s teeth, including gaps and missing areas.
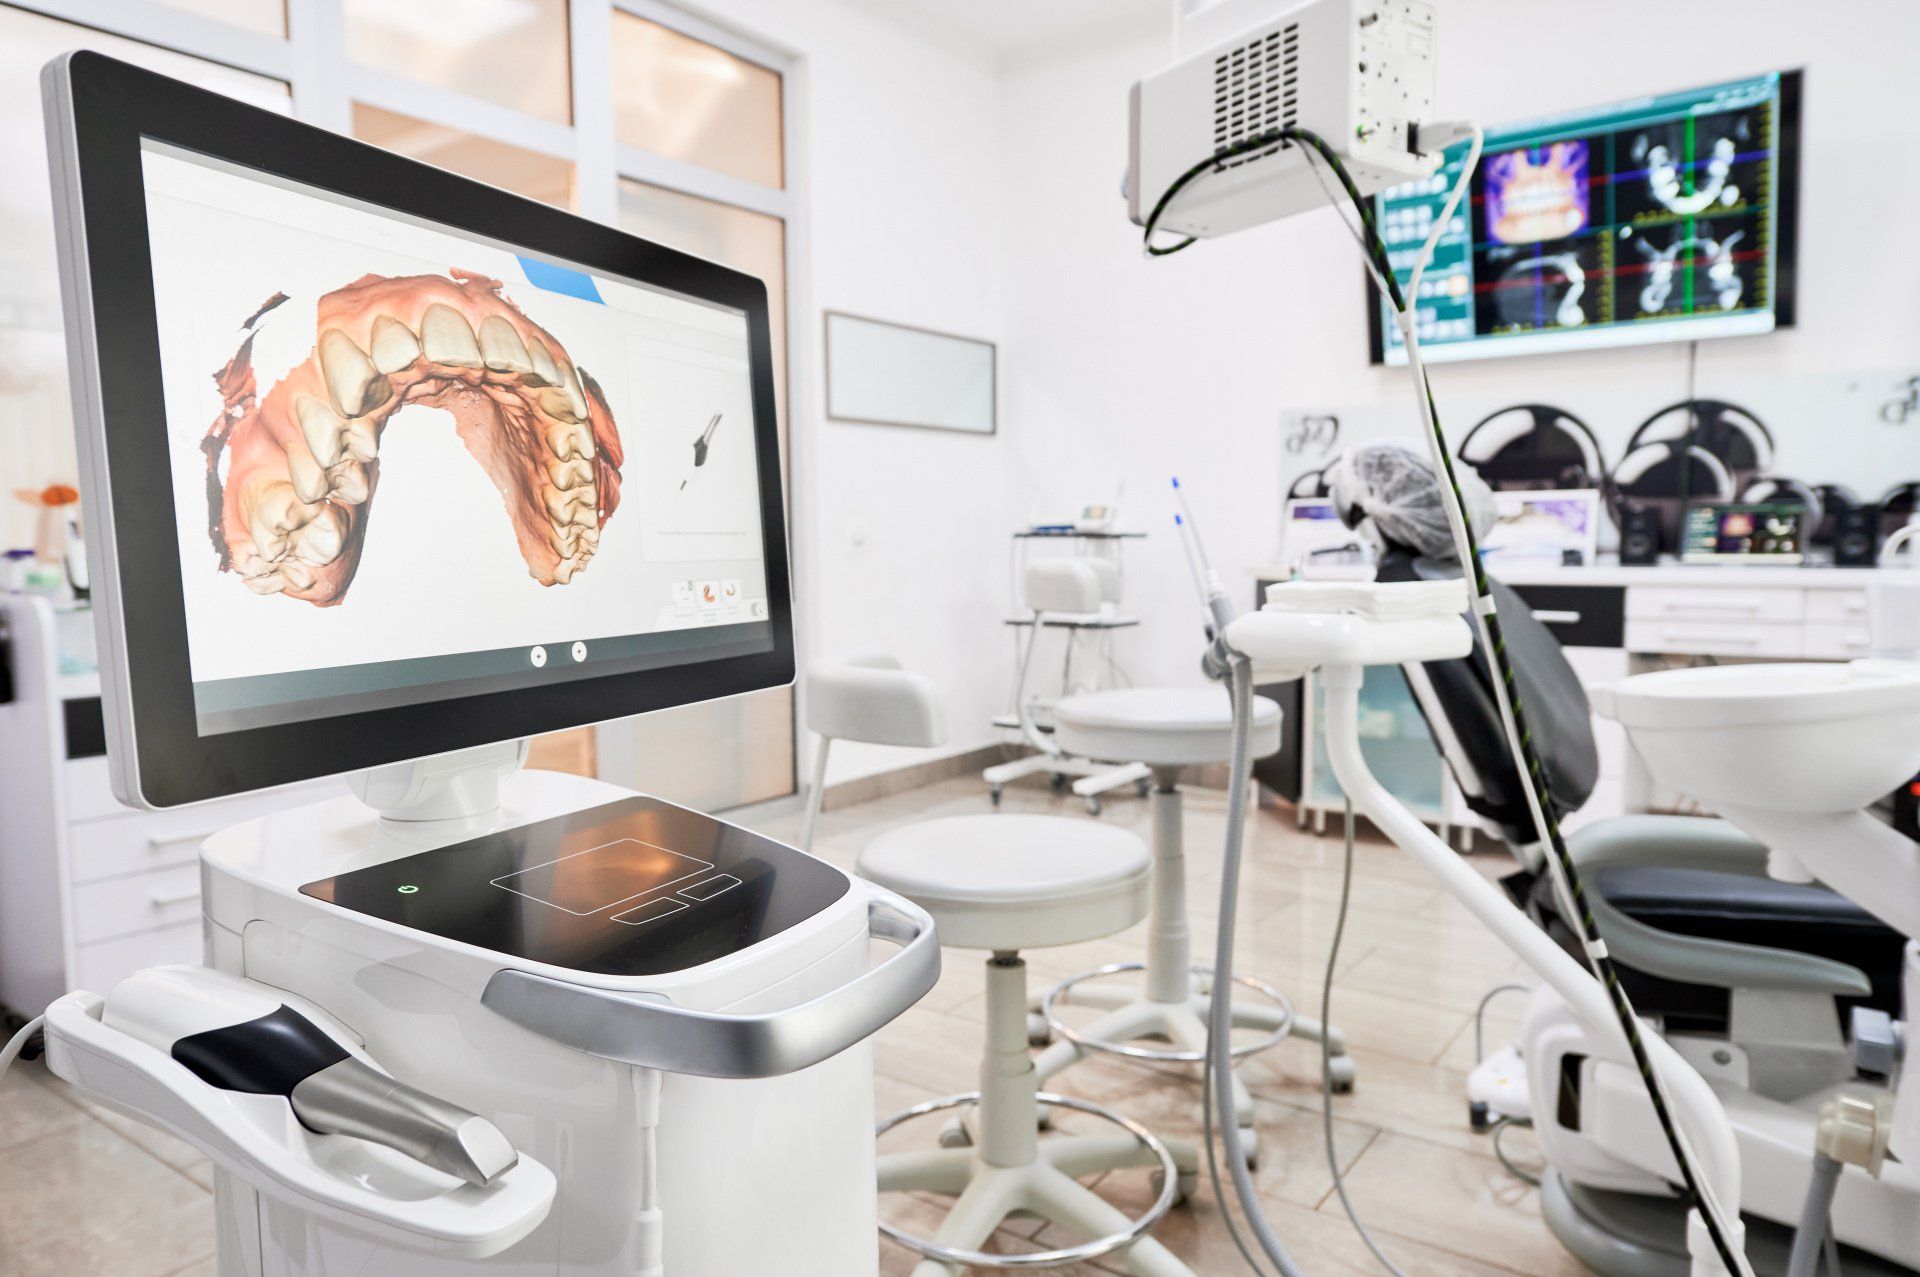
Step 2: Examine the bite
After getting an accurate impression, you'll then need to examine the finished models to find the contact points between the teeth and see if there are any required adjustments.
Before doing this, you'll want to prep the natural tooth surface where the occlusal rests will be placed to hold up the dentures. This is a critical step because if you find that the space is limited, you may need to reduce the size of the opposing teeth by opening it slightly.
Next, mark the height and contour of your patient's teeth that will be part of the design using a dental surveyor. By doing this, you'll be able to find any insertion problems and address them immediately.
Step 4: Consider clasp design and flex it
When checking the denture's design, you must use the appropriate and most effective clasp design. Clasp designs are often based on the Kennedy Classification of the dental arch and the various levels of undercuts that may be present in your patient’s mouth.
Besides that, use flexible cosmetic claps that are tooth-colored to give your patient better dental aesthetics that will provide them with maximum performance while still looking natural.
Step 5: Finishing touches on the design
Before reaching the final step of processing and finishing, analyze your patient's bite with the denture design. Again, considering the Kennedy classification, identify all the insertion paths, undercuts, and overall aesthetics.
When the final product is ready, you can then attach the partial dentures and examine them to ensure that the bite is perfect and that it looks aesthetically pleasing.
Conclusion
Getting partial dentures is a dental treatment one could take to enhance the look of their teeth. To produce a high-quality and well-made set of dentures, it's best to work with a certified dental lab, such as Vitality Tech LLC, which offers premium dental products and services to dental offices.
Not only will you use the best tools and products, but with this step-by-step guide, you'll use the best techniques to give your patient the new and improved smile they've been wanting.
If you're looking for a
certified dental lab, check out Vitality Tech LLC. We have been in the dental industry for 17 years, servicing dental clients with our reliable, digital, and excellent service. We offer dental implants, fixed prosthetics, high-end removable dentures, and more. Check out our products today!